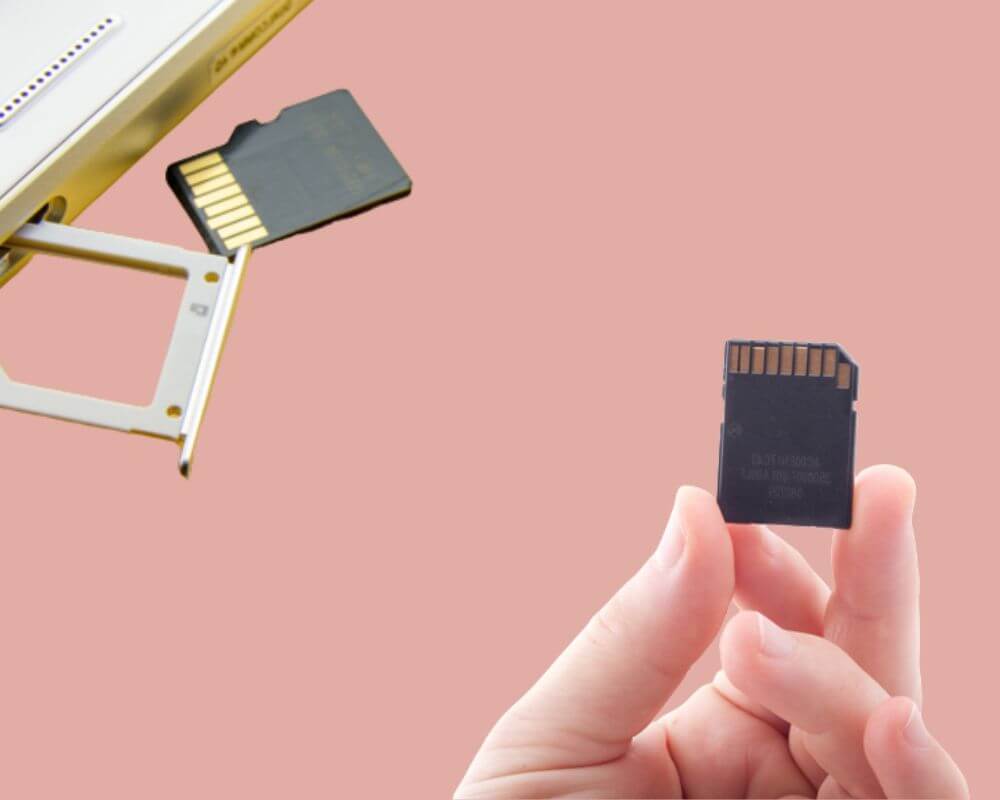
Unleash the capabilities of your Android device by familiarizing yourself with its root directory! Although your SD (Secure Digital) card may appear to be a basic storage solution, it actually holds numerous critical files and folders that can impact the efficiency of your Android phone.
This thoroughly investigated piece aims to equip you with all the necessary knowledge required to navigate through your Secure Digital card directory effortlessly.
Regardless of whether you’re a technologically advanced user or a beginner. Prepare to discover some concealed gems in your Android phone!
What Is the SD Card Root Directory on Android?
The root directory of the Secure Digital (SD) card refers to the top-level directory structure on the external storage device. This is where all other directories and files are stored within the flash memory card file system.
A Secure Digital card is normally mounted as a separate external storage device from the phone’s internal storage when a user inserts one into an Android. The root folder can be accessed to store files like music, documents, and videos once the flash memory card has been mounted.
The forward slash ‘/’ in the file path designates the SD card root directory, often known as the ‘top-level’ or ‘parent’ directory. However, you may organize your data more effectively and locate the exact files you need by going to the root folder of the SD card.

How to Find the Root Directory on My Android SD Card?
Accessing the root directory of an Android Secure Digital (SD) card requires connecting the phone to a computer or utilizing a file manager app on the phone. The Free ES File and Solid Explorer apps are recommended options that can be downloaded from the Google Play Store for easy access to the root directory.
- Open the Free ES File or Solid Explorer app
- Select “Secure Digital Card”
- Click on the “..” (up one level) option in the top-right corner of the screen
How to Add Files to the Root Folder of Your Secure Digital Card?
Many Android users will benefit from adding a file to the root directory. It offers faster access to significant files as they are conveniently accessible from the primary system folder. This feature is particularly useful when employing custom ROMs or making use of applications that need direct access to these files.
Furthermore, incorporating files into the root folder of your flash memory card can further enhance the customization and personalization of your phone. By placing customized animations or fonts in this location, users can conveniently apply them without requiring third-party apps or complicated installation procedures. Here’s how to put a file in the root directory of the SD (Secure Digital) card:
- Insert the flash memory card into your phone
- Navigate to the file manager app
- Select the SD card option
- Click the “+” icon
- Select “New Folder”
Name the folder whatever you like, then find the files you want to add and drag them into the newly created folder. Your files should now be safely stored in the root directory of your SD card.
If you have a laptop, you can connect your Android phone to it via a USB cable and transfer files directly to the main folder of your SD card. Another option for swifter file transfers from your PC to your Android Secure Digital card root directory is to use the ABD method.
What Are the Advantages of Using the Root Directory of Flash Memory Cards?
Accessing the root directory of your SD card on Android has a lot of benefits. You can control your files, which is one of the biggest advantages. You may easily reorganize and move files around by having access to the root folder.
Data between your computer and phone can be transferred quickly, so you can also back up your information. You can customize your phone when you have access to the root directory. For instance, you need to enter the root folder if you want to modify the phone’s default settings.
Furthermore, the installation of a custom ROM or kernel on your phone requires root directory access. By obtaining access to the root directory, you can make changes to your phone that are unattainable with a standard Android installation.
Tips and Tricks for Managing Your Files in the Root Directory
Most Android users tend not to think about the root directory of their SD card. However, examining the root folder can be beneficial, especially when troubleshooting an issue or attempting to optimize storage space. Below are some useful tips and tricks to help you explore the root directory.
- Use a file manager. Using a file management program is the most straightforward approach to managing files in the root directory.
- Access the root directory through ABD. Assuming you’re adept at utilizing the command line, you have the capability to reach the root folder of your SD card through ABD. Join your laptop and Android device, then type “ABD shell” in the terminal. From there, you may employ customary Linux commands to explore and handle your files.
- Hide unwanted files. If specific files or folders you don’t want showing up in your file manager. You can create a “.nomedia” file in the root directory. However, this tip will tell Android not to scan that directory for media files, so they’ll be hidden from view.
- Use caution while deleting files. Make sure you are aware of the implications of your actions before deleting any files from the root folder. Deleting specific system folders could cause severe problems for your Android phone.
What are the Common Problems with Accessing the Root Directory?
When attempting to access the root directory of an SD card on your Android device, several frequent complications can arise. The primary issue is often due to the incorrect mounting of the SD card, which may result from various factors.
Furthermore, it is common for file permissions on the Secure Digital card to be improperly configured, resulting in trouble with access. Lastly, a frustrating problem that can occur is the lack of detection of the flash memory card by the Android device, likely stemming from hardware malfunction or incorrect drivers.
In all cases, it is recommended to contact the manufacturer of your device for optimal resolution of the issue.
Security Considerations when Accessing the Root Directory
Security should always be a top priority while accessing the root folder on your SD card. As we covered before, the root directory is the highest level of the file system and has unrestricted access to all other files and directories on the Secure Digital card. This suggests that anyone who gains access without authorization may change or delete any extra files stored on the SD card.
To reduce this risk, it is advisable to grant read and write access only to essential apps that require it in the root folder. For instance, if a file manager app necessitates root directory access, it would be best to allow it only when it is essential. After the usage of the app, revoking its permissions will prohibit additional access to the root directory.
It is crucial to ensure that your device remains secure by setting up a robust PIN code or password to prevent any unwanted access to your SD card. Additionally, data encryption of your flash memory card can provide an enhanced layer of security that will impede unauthorized access from any potential attackers.
Conclusion
Understanding the root directory on your Android SD card is imperative to guarantee secure file transfer and access. This article has provided a complete guide, including the definition and functionality of the root folder, as well as tips for navigating the structure efficiently to locate necessary data. By utilizing these suggestions, we aspire that you feel proficient in managing your SD cards like an expert!

